Kegerator Coupler Parts: Essential Accessories for Your Home Keg
Ever notice your draft beer pouring foamy or completely flat and wonder why? The real key is in the compact but crucial components linking your keg and tap. If the setup is wrong, even top-quality beer can lose its crisp flavour and ideal carbonation.
At Installation Parts Supply, we know that a smooth pour starts with reliable keg coupler check ball hardware. Whether you are a homebrew fan or simply enjoy fresh draft beer, knowing these parts helps make sure every glass is poured just right.
From washers to gas lines, each part plays a role in maintaining pressure and flavor. Over 90% of dispensing issues trace back to worn or mismatched components. Just a small amount of know-how helps your system operate without a hitch.
- Selecting the right coupler helps maintain smooth beer flow and great flavour.
- Installation Parts Supply offers dependable plumbing solutions for draft beer systems.
- Routine maintenance helps prevent many common pouring issues.
- Different beer types may require specific coupler styles.
- A majority of system failures start with coupler problems.
What Is a Kegerator Coupler?
The perfect draft beer starts with the right connection between your keg and tap. A keg coupler bridges your CO2 cylinder or nitrogen cylinder to the beer hose, using compressed gas to push liquid smoothly to your beer taps. Think of it as the engine of your draft beer system—without it, nothing flows.
This compact device has two main roles: supplying gas to pressurize the keg and regulating beer flow. Inside, you’ll find a probe, a check valve, and separate ports for gas and liquid. Every piece works together so your beer stays fizzy and pours with the right amount of foam.
| Part | Role | Common Issues |
|---|---|---|
| Probe | Punctures the keg seal | Misalignment causes leaks |
| Check Valve | Stops backflow | Worn valves can lead to flat beer |
| Gas/Liquid Ports | Connects to lines | Loose fittings create foam |
Attaching the coupler wrong is a rookie mistake—75% of first-time users do it. The result can be foam explosions, leaks, or even ruined beer. Installation Parts Supply offers compatibility charts and video guides to help you get it right.
Even though universal-style couplers function similarly, you should always match the model to your keg type. Using the wrong coupler won’t just spoil your pour; it can also damage your gear.
Types of Keg Couplers and How They’re Used
Not every keg connection is the same—certain setups are made for specific styles of beer. When you pair the right coupler with the right beer, you maintain ideal carbonation and flavour. Below is how you can select the right one.
Roughly 85% of North American craft beers rely on this common style. It uses a single-valve design that locks tightly onto most domestic kegs. Pro tip: Check the side for the Sankey stamp.
Understanding the U System Coupler
Easily identified by the harp symbol, this coupler is required for nitro beers such as Guinness. A specific gas blend (roughly 75% nitrogen) is used to deliver that classic creamy head. Do not force a U coupler onto a standard keg—it simply will not seal.
S System (European Sankey) Coupler
Heineken and other European imports need this reverse-thread version. The left-hand thread design stops mix-ups with D Systems. Fun fact: This type is a bit taller than its American counterpart.
A, G, and M Style Couplers
German and UK beers demand specialized connectors:
- A-Style: Attaches to kegs from brands such as Warsteiner or Paulaner. The slider mechanism makes connection nearly foolproof.
- G-Style: Uses a tri-flat stem that fits Bass and Boddingtons. It is a common standard in UK pubs.
- M System: Clamps securely onto Schneider Weisse kegs. You will hear a slide-lock click once it is secure.
Installation Parts Supply uses colour-coded compatibility guides—green indicates D, black marks U, and blue shows S. A craft brewery in the Midwest cut costs by $3,000 annually just by using the right couplers. Keep in mind that real compatibility is more reliable than any “universal” marketing claim.
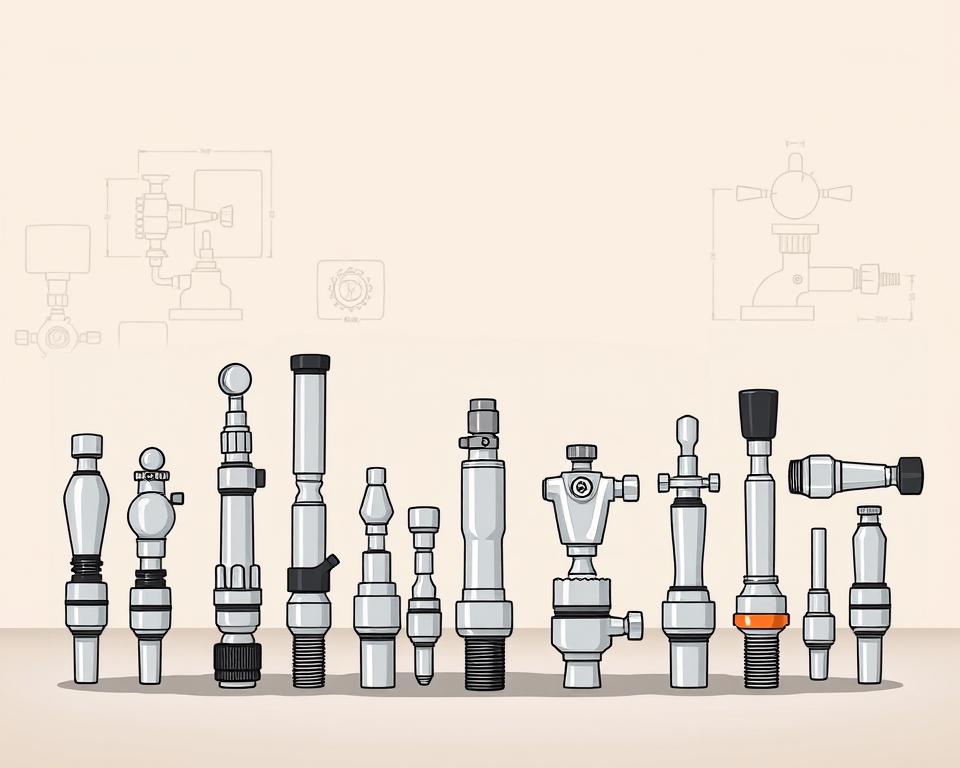
Essential Kegerator Coupler Components and Their Roles
Every smooth pour depends on a group of carefully engineered components. These small but mighty pieces ensure your beer stays carbonated and flows flawlessly. Let’s go through the main hardware that keeps your system running well.
Probe and Check-Valve Assembly
The stainless-steel probe punctures the keg seal and helps regulate beer flow. Top-tier versions typically last up to three times longer than cheaper variants. Underneath, the check valve prevents backflow—often the most commonly replaced part at Installation Parts Supply.
Hex Nut and Washer Assembly
A tight seal starts with the hex nut. Brass suits budgets, but stainless steel resists corrosion. For colder environments, use nitrile washers—EPDM rubber can crack more quickly under 40°F.
| Component | Material | Main Benefit |
|---|---|---|
| Probe | Stainless Steel Build | High wear resistance |
| Check Valve | Food-grade plastic | Prevents flat beer |
| Hex Nut | Brass/Stainless | Balances cost/durability |
Gas Inlet and Beer Outlet Ports
The gas port typically carries 20–30 PSI of CO₂ or nitrogen. Pressure that is too high or too low will cause foaming issues. Liquid ports work best with 3/16″ ID tubing—1/4″ lines increase turbulence. Rebuild kits with FDA seals simplify maintenance.
Pro Tip – Swap O-rings every 6 months or 50 kegs. Spending a few dollars on a washer is far better than a $150 coupler failure.
How to Set Up Your Kegerator Coupler
Dialling in your draft system correctly gives you perfect pours again and again. When installed properly, you avoid foam problems, leaks, and flat beer. Follow these simple steps to complete your connections cleanly.
Connecting the Coupler to the Keg
Begin by raising the handle and aligning the coupler lugs with the slots on the keg. Rotate clockwise to tighten until snug, but avoid over-tightening to protect the seal. Low-profile couplers cut overall height by about 4–5 inches for narrow spaces.
Installation Parts Supply’s torque wrench ensures hex nuts are secured at 8–10 ft-lbs. A misaligned probe causes 80% of leaks. Always use fresh washers to maintain pressure.
Attaching Gas and Beer Lines
Attach the gas hose to the coupler gas port with 5/16″ MFL fittings. Apply a suitable thread sealant to stop CO₂ leaks. For beer lines, 10–12 feet of 3/16″ tubing balances pressure drop.
| Task | Recommended Tool | Helpful Tip |
|---|---|---|
| Gas Connection | Thread sealant | Test at 30 PSI for bubbles |
| Beer Hose | Tubing cutter | Keep ends square for seals |
| System Pressure Test | Leak Detection Spray | Monitor for at least 24 hours |
Some modern systems integrate with mobile apps so you can monitor pressure in real time. A Denver brewery cut foam by 40% using quick-connects from Installation Parts Supply. Always shut off CO₂ if major leaks occur.
How to Troubleshoot Common Coupler Issues
Nothing ruins a cold beer faster than foam spraying everywhere. Most pouring issues come from simple causes once you know what to check. Here are the frequent issues and the best ways to solve them.
Leaks and Foamy Beer
Foam accounts for 68% of draft system complaints. First, confirm that the temperature is around 38°F for most ales. Too warm, and CO₂ escapes too fast.
Next, look over your beer line connections. A soapy water solution reveals gas leaks through bubbles. Tighten loose fittings gently with a wrench, avoiding over-tightening.
- Check-ball failure can cause intermittent flow—listen carefully for hissing noises
- Pressure imbalance? Compare your gauge to this chart:
| Type of Beer | CO₂ Pressure (PSI) | Nitrogen Mix |
|---|---|---|
| Lagers | 10-12 | Not Applicable |
| Stouts | 25–30 | 75% nitrogen |
Loose or Poor Coupler Fit
When your coupler fits loosely, begin by inspecting the O-rings for wear. According to Installation Parts Supply, this simple check fixes roughly 40% of fit issues. A warped coupler face often requires full replacement.
If your keg surface is uneven, keg shims can help. These inexpensive plastic wedges stabilize wobbling connections. Low-profile couplers also solve clearance issues in compact coolers.
Pro Tip – Their emergency washer kit contains five critical seals. A bar in Chicago cut waste by 18% by educating staff on these simple repairs.
Remember—frost on your CO₂ tank signals overuse. Let it thaw before adjusting pressure relief valves. Digital gauges should be calibrated yearly to stay accurate.
Cleaning and Maintaining Your Keg Coupler
Keeping your draft system clean ensures each pour of beer tastes crisp and fresh. Over time, residue accumulates and starts to affect flavour and dispensing performance. A basic routine is all it takes to keep the system working smoothly.
Coupler Disassembly and Soak
Begin by disassembling the coupler. Take off the handle, the probe, and the check valve. Soak all parts in warm water with 1 oz of PBW per gallon for 15–20 minutes. This removes yeast and hop oils.
Installation Parts Supply offers a brush set that reaches into tight areas. Give extra attention to the ball valve—it often hides built-up gunk. Rinse all pieces thoroughly to avoid any soapy aftertaste.
Choosing an Appropriate Cleaning Solution
Many brewers favour PBW (Powdered Brewery Wash) due to its pH-balanced formula. Acid-based cleaners work quickly but may degrade rubber parts over time. For commercial setups, ultrasonic systems blast away debris with sound waves.
- Drying – Use compressed air or microfiber cloths. Trapped moisture encourages mould growth.
- Sanitising – Follow FDA CFR 117 guidelines—30 seconds of contact time kills bacteria.
- Cleaning Logs – Track cleanings with a template. Consistency in logging helps avoid missed cleanings.
UV-based solutions offer additional protection for rubber parts. Be sure to neutralise wastewater because PBW is alkaline and may damage piping. A little effort ensures quality pours and extends your system’s life.
Wrapping Up
You can enjoy crisp, fresh beer when you know how to manage your draft beer system. Using the right hardware, keeping things clean, and setting everything up correctly make all the difference. With lifetime support and seasonal discounts on rebuild kits, Installation Parts Supply helps keep your pours consistently good.
Did you know? Routine care can extend your equipment’s life by 7 years. Download their free compatibility checklist or join a brewmaster webinar for pro tips. An annual check-up keeps your system running without trouble—something their 5-year loyal customers can confirm.
Thinking about upgrading your system? Visit Installation Parts Supply today and boost your home bar game.